Owner · Bona Certified Craftsman · NWFA Member
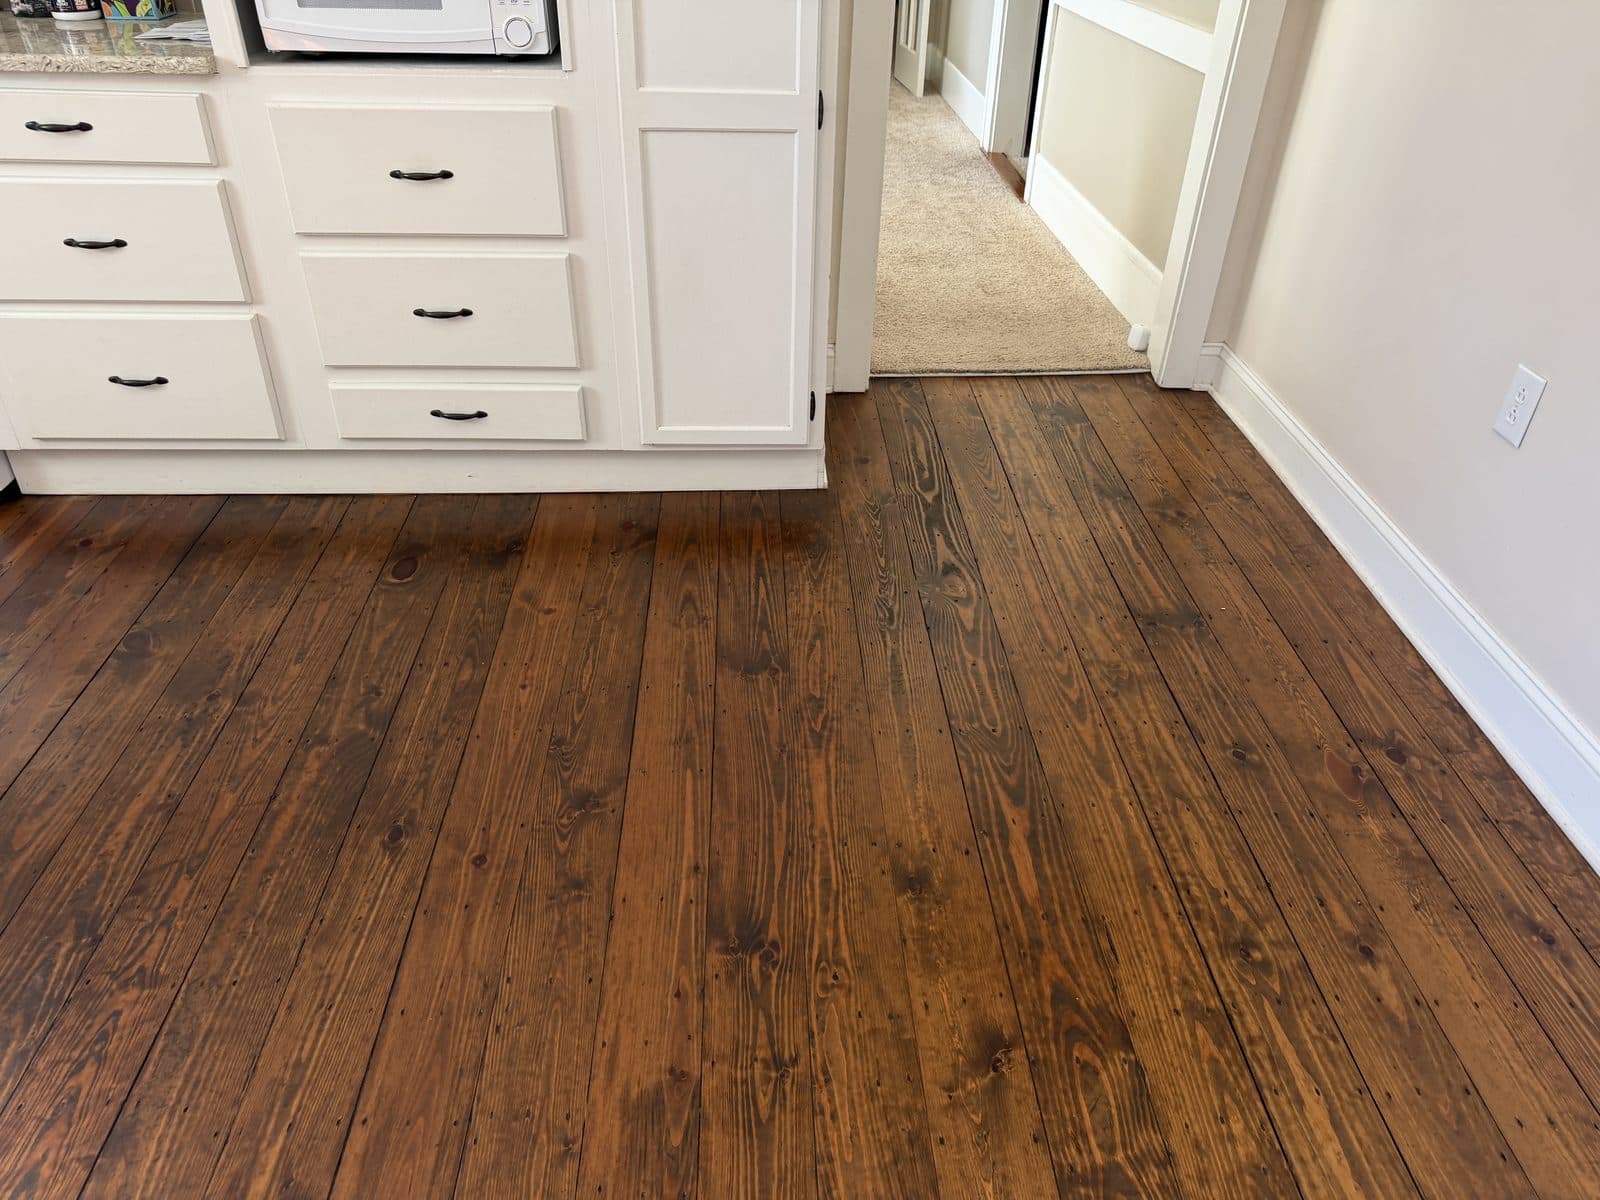
In 2019 we sanded this wide-plank pine kitchen floor in Clayton and finished it with Bona Craft Oil 2K, blended to a custom color. Seven years of cooking, two large and very active dogs, and daily traffic later, the busiest paths had gone dry and gray, especially at the corner of the cabinets and down the main walkway. The floor needed attention. It did not need sanding.
We brought it back in one day: a deep clean, a light scuff with a maroon pad, and one fresh coat of the same oil, in the same blend. No sanding dust, no stripping back to bare wood, and this kitchen was back in use in about 24 hours. Every photo from the job is in the project case study.
What did the floor look like before?
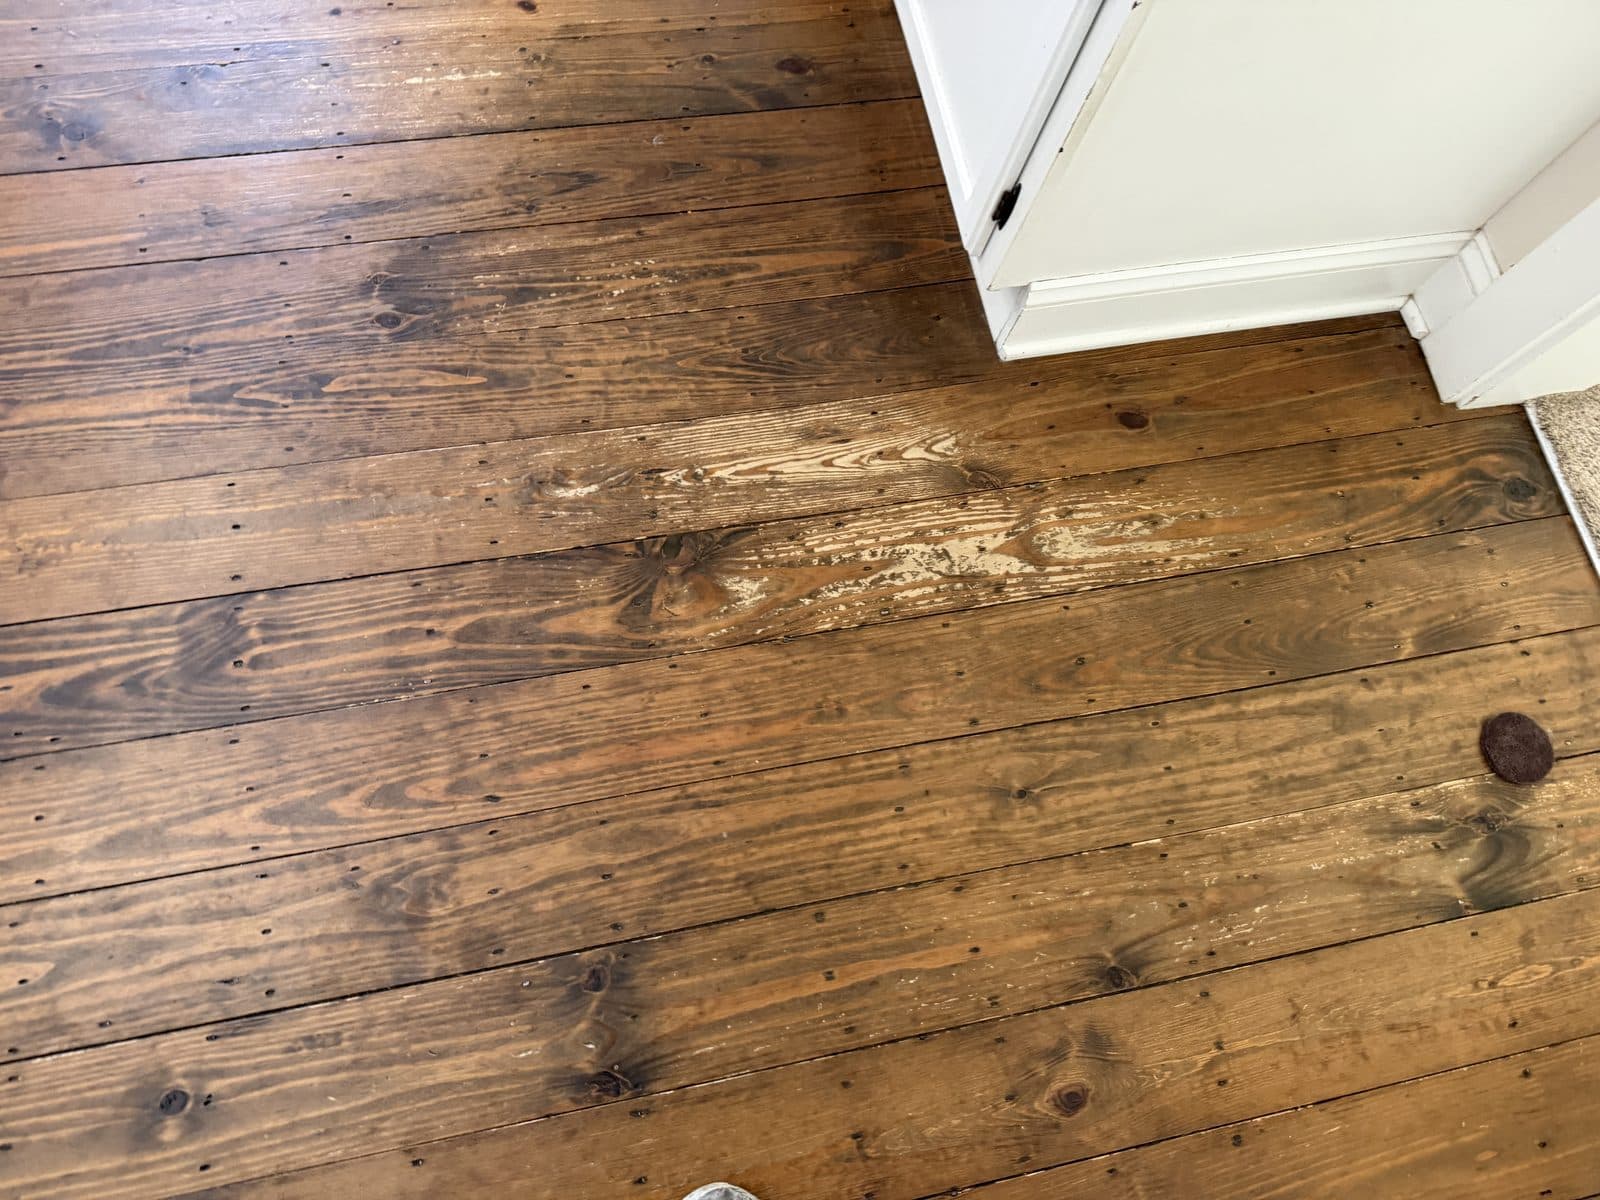
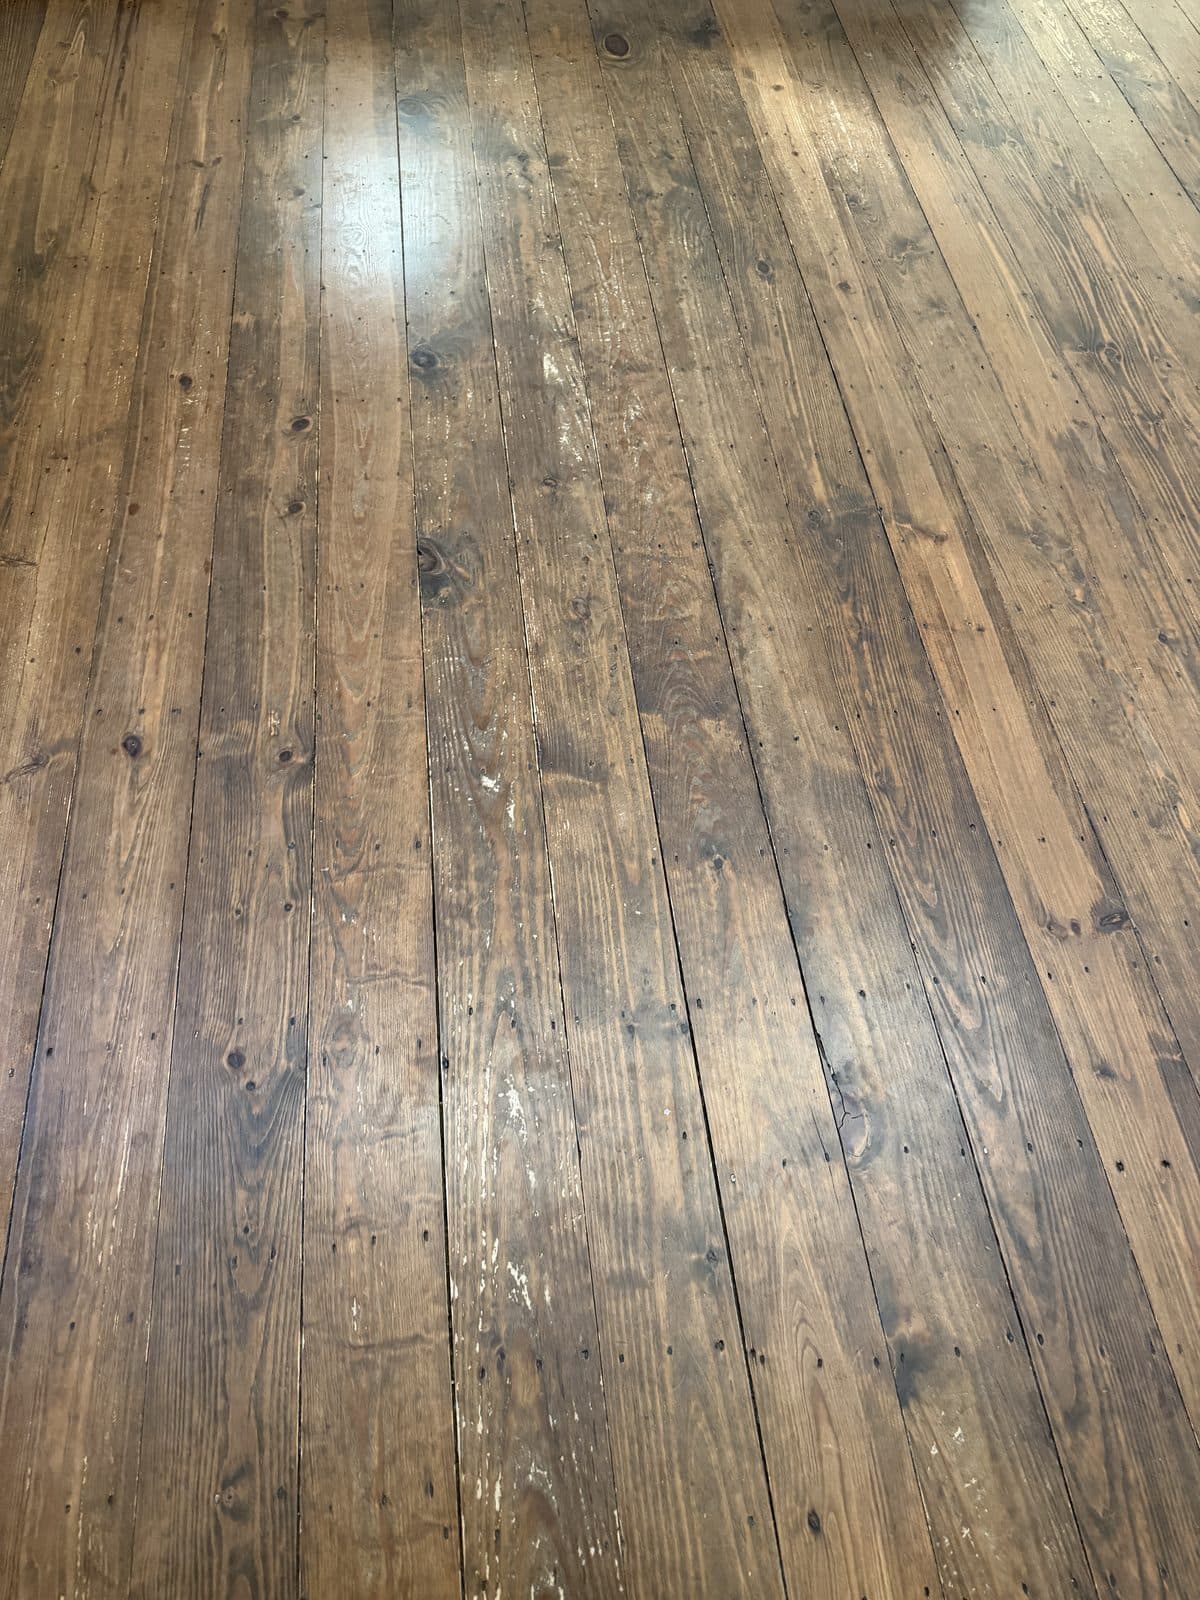
Oil does not wear the way polyurethane does. A film finish wears through and leaves a scratched, cloudy layer on top of the wood. An oiled floor wears into the wood: the high-traffic boards slowly lose oil and start to look pale, dry, and gray, while the rest of the room still looks fine. That is what you see here. The finish was thin in the walkways and around the cabinet corner, and the rest of the kitchen was in good shape.
That pattern is good news. It means the floor needs oil, not a resand.
Step 1: Deep clean first
Fresh oil only bonds to clean wood. Years of cooking residue, cleaner film, and ground-in dirt sit in the grain of an oiled floor, and oil applied over them will not penetrate evenly. So the first step is a professional deep clean to lift the grime out of the surface and the grain. If you are not sure whether your floor is at this stage, our guide to whether your floor is a deep clean candidate walks through the signs.
Step 2: A light scuff with a maroon pad
Next, the floor gets abraded with a maroon pad on a buffer. This is not sanding. The pad opens the surface just enough for the new oil to key in, without cutting through the existing finish or the color. On a floor like this one, with deep grain and face nails, that matters: the character stays exactly where it was.
Step 3: Re-oil with the same oil and the same color
We record the blend for every custom hardwax oil color, so when a floor comes back to us we know exactly what went down the first time. This floor was finished in 2019 with Bona Craft Oil 2K in a custom blend of Clay and Neutral. For the re-oil we used the same oil, mixed to the same recorded ratio, so the new coat matches the old one.
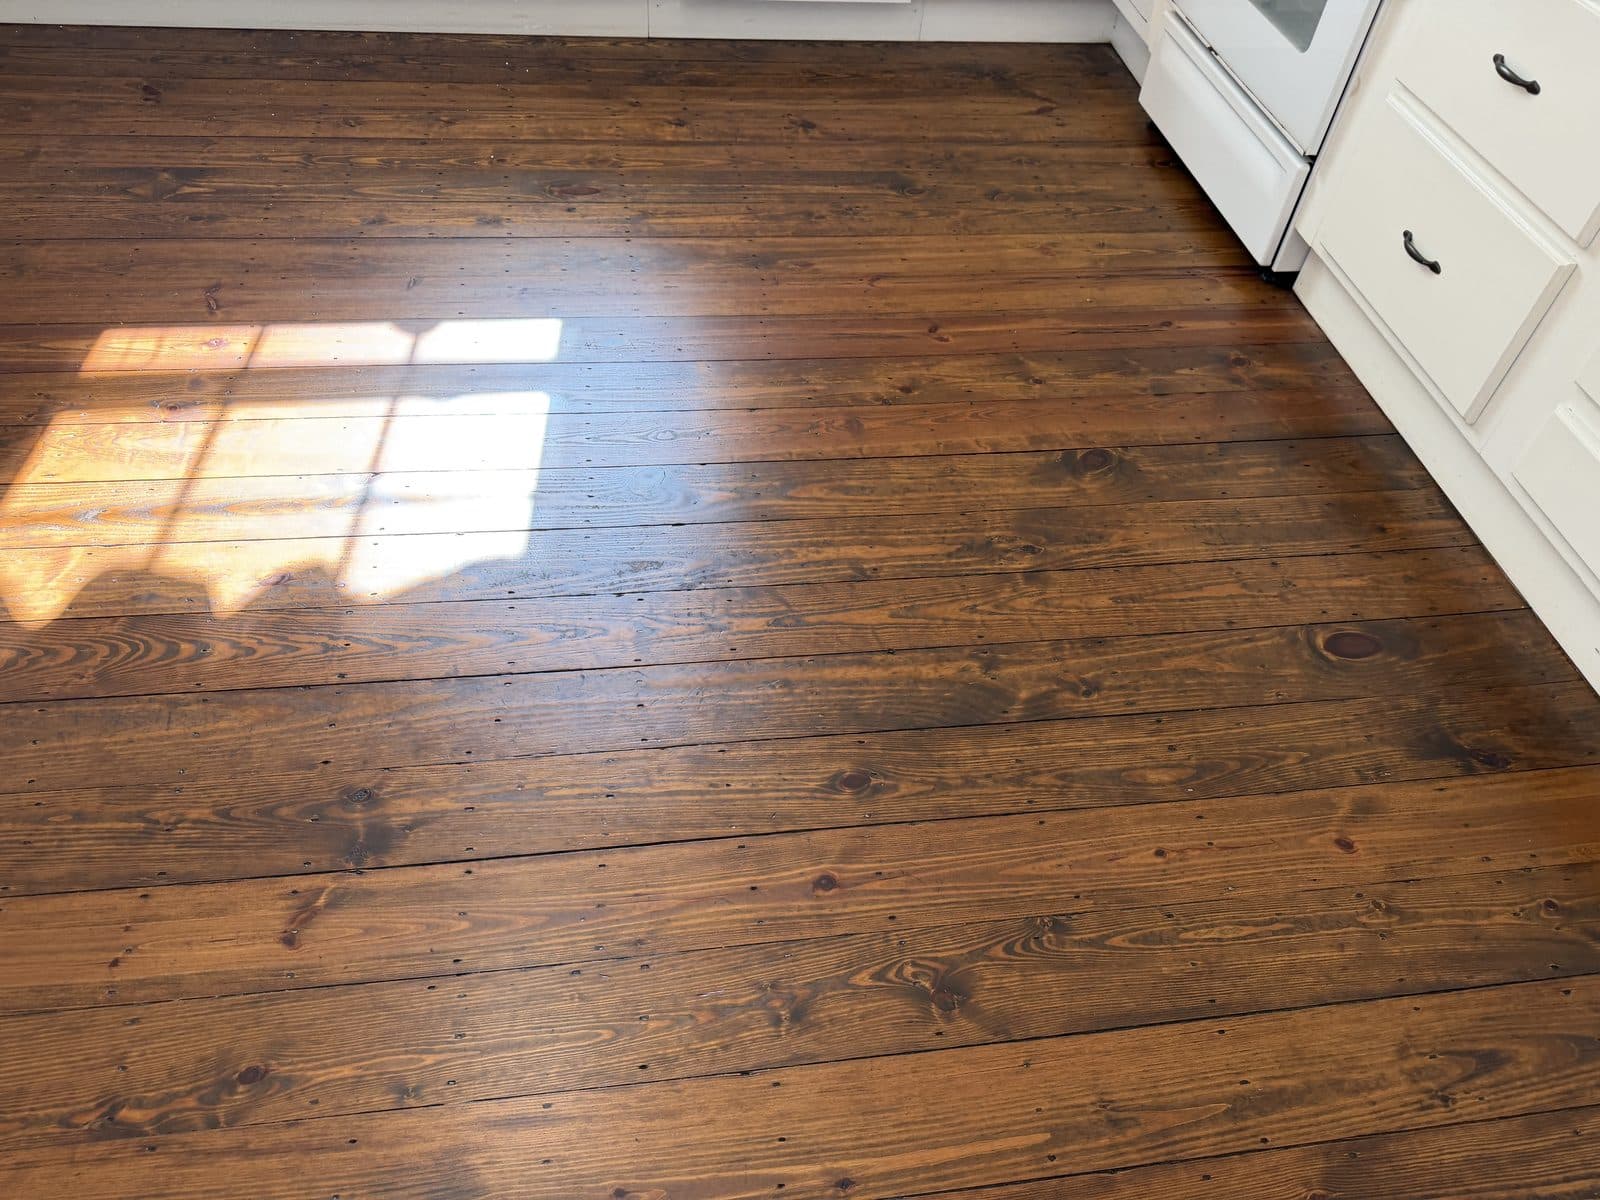
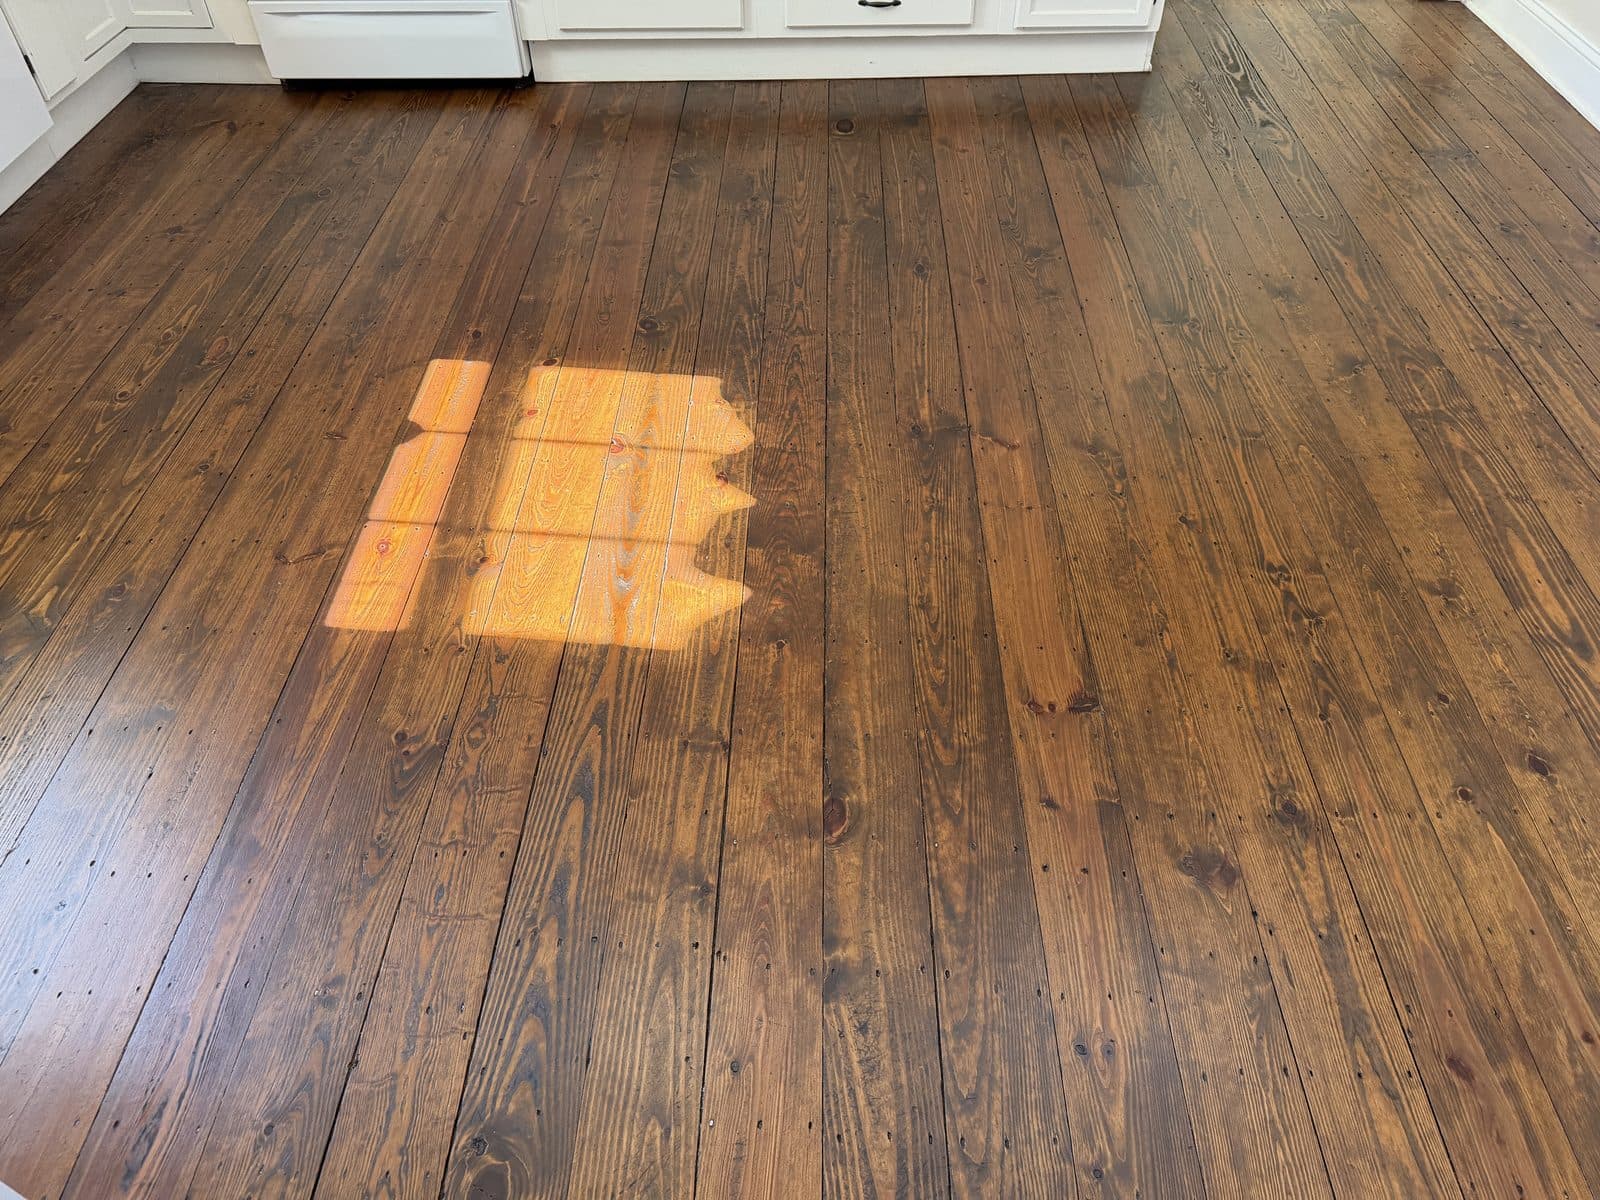
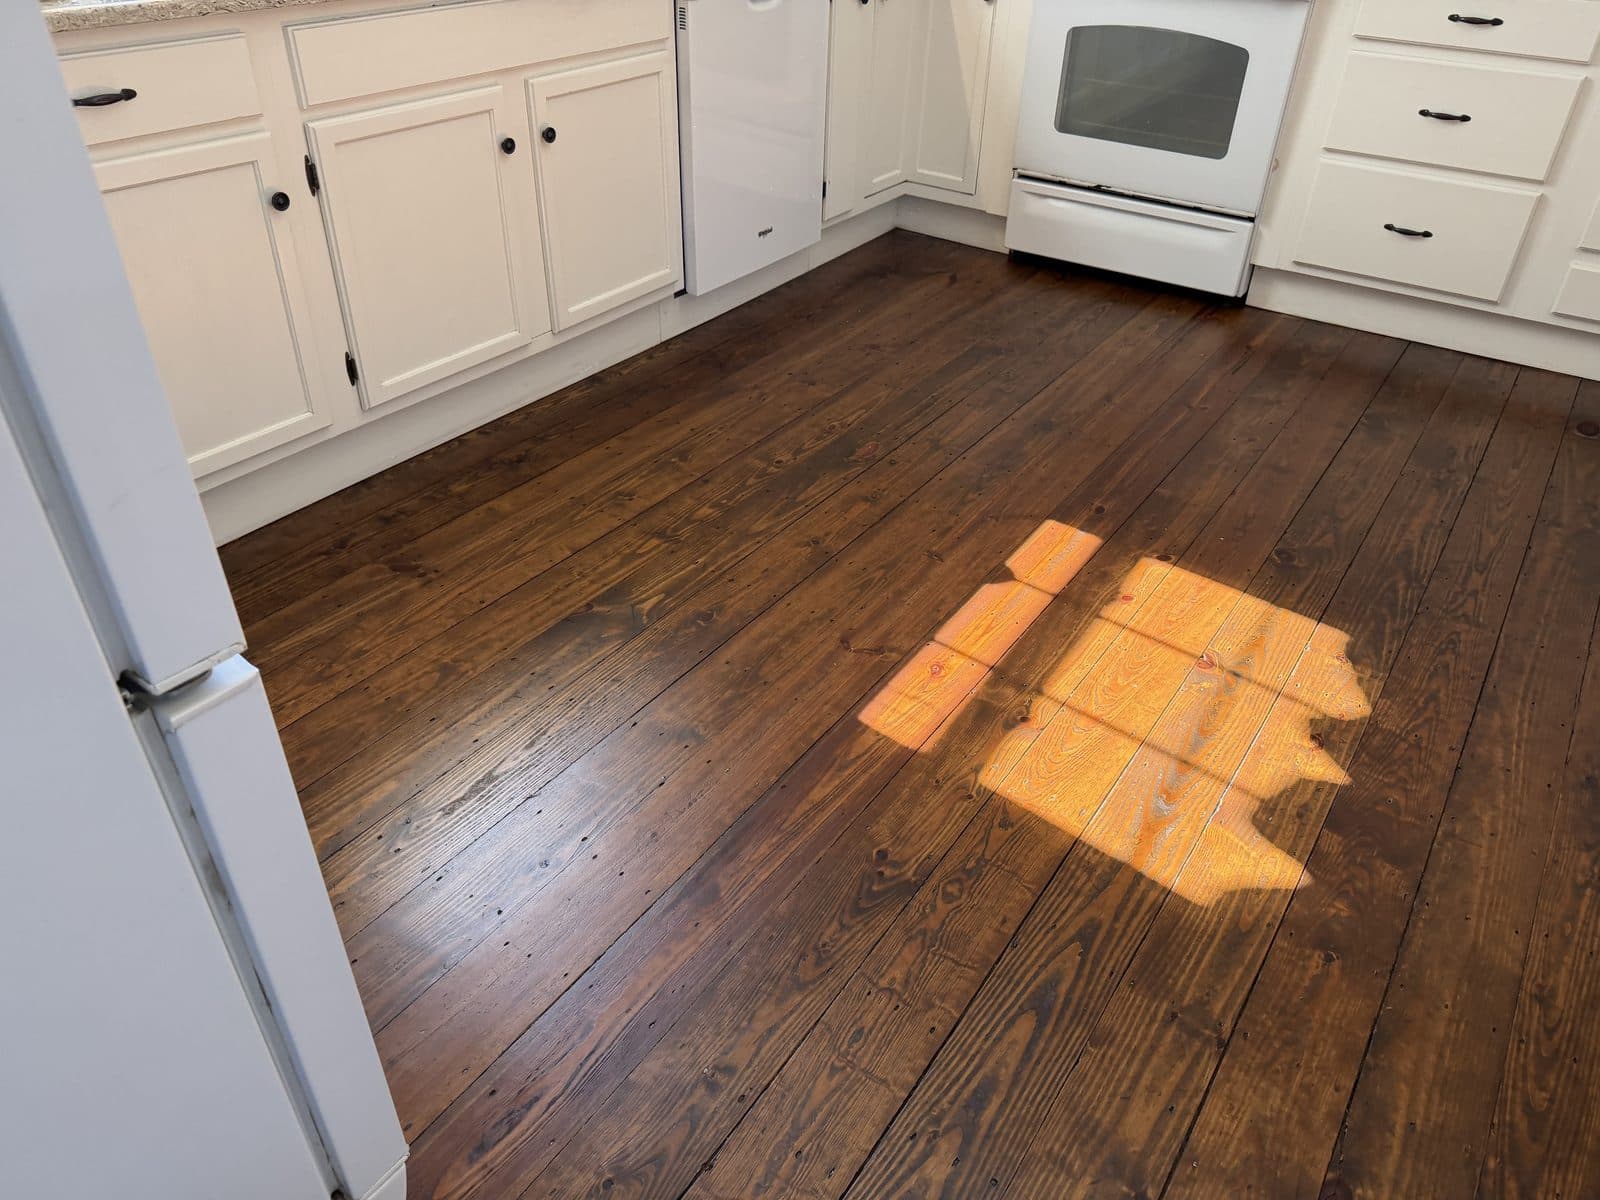
The result is the floor in these photos: the gray walkways are gone, the color is even across the room again, and the grain has its depth back.
Why I love an oiled floor: it is easy to repair
“I love the oils for this specific reason: we can easily and simply buff and re-apply the oil and have almost the same results as we did on day one.”
That is what happened on this kitchen. Seven years in, the floor did not need to be taken back to bare wood. It needed cleaning, a buff, and oil.
With a polyurethane floor, a deep scratch or a worn walkway usually means living with it or a full sand and refinish of the room, because a film finish cannot be patched without the patch showing. A hardwax oil floor can be repaired one spot at a time. The new oil bonds with the existing finish and blends in. We compare two of the hardwax oils we use in Natura Onecoat vs Rubio Monocoat, and how oil stacks up against film finishes in Bona Traffic HD vs Rubio Monocoat.
How often should an oiled floor be re-oiled?
It depends on traffic, not the calendar. Kitchens, entries, and the paths pets use show it first. The sign to watch for is the one in the before photos: boards in the walkways turning pale, dry, or gray while the rest of the room looks fine. Catch it at that stage and a deep clean and re-oil restores it. Wait until the wood itself is worn or damaged, and the floor may need a full refinish instead. Regular care in between, with a cleaner made for oiled floors, stretches the time between re-oils. Our deep clean, recoat, or refinish guide explains how we decide which one a floor needs.
Living with the floor after a re-oil
This kitchen was back in use in about 24 hours. That was this job, one coat over an existing oiled floor, not a rule for every floor: we give you the timing for your own floor before we start. Bona Craft Oil 2K reaches full cure in about 5 days, the same as the other hardwax oils we use, so hold off on rugs and cleaning products until then, since they can interfere with the cure.
Is Your Oiled Floor Due?
If your hardwax oil floor is looking dry or gray in the walkways, send us a few photos and we will tell you whether a re-oil will bring it back.
Start HereRe-Oiling Questions
Can you re-oil a hardwax oil floor without sanding?
Yes, as long as the wood itself is not worn through or damaged. The floor is deep cleaned, scuffed with a maroon pad so the new oil can bond, and given a fresh coat of oil in the original color.
How do I know my oiled floor needs re-oiling?
The walkways and other busy areas start to look pale, dry, or gray while the rest of the room still looks fine.
Can you match the original color?
We record the blend for every custom hardwax oil color, so a re-oil or a spot repair can be mixed to match what went down originally.
How long before I can use the room?
On this kitchen, about 24 hours. Full cure takes about 5 days, so wait on rugs and cleaning products until then.
Can an oiled floor be spot repaired?
Yes. A scratch or worn area gets a light scuff and a little oil on just that spot, and it blends into the existing finish without sanding the room.
We deep clean and re-oil hardwax oil floors across the Triangle, starting from our Clayton showroom. We handle hardwood floor deep cleaning across the Triangle, including Clayton, Garner, and Smithfield. Request a free estimate: send a few photos and project details for a free preliminary estimate, and if your floor needs an on-site assessment, we explain it and any assessment fee before scheduling.